Showing posts with label beginners. Show all posts

Friday, February 22, 2013

Going gluten-free? Its easier then it looks!

Remember I said this blog is all about how we are changing different parts of our life to become more thrifty and healthier? Well this might be the biggest change we have implemented so far.
We are no longer eating food that contains gluten in it. Thats right people! No gluten! Let me tell you... gluten is in EVERYTHING! Well not everything... almost everything pre-made, including sauces. This might not be a move for your family yet or ever for that matter. But I truly believe it is a great change for my family. We all feel so different!

It was tricky for the first week but is getting easier every week that passes. I glance at the products list of ingredients in the grocery stores (the very few food items now that we purchase that are pre-made).
Here is a list of common ingredients/foods that are other names for Gluten:

wheat
spelt
kamut
triticale
semolina(durum wheat)
farina 
einkorn 
bulgar 
couscous 
graham 
modified wheat starch 
wheat starch 
wheat germ 
wheat bran 
whole wheat
cracked wheat 
cake flour
matzo flour
matzo meal 
rye 
barley
malt flavouring


This change has benefited me the most as I no longer feel bloated after every meal or get diarrhea... TMI? Sorry! My future hubby (sheesh I LOVE saying that!) felt lethargic and full of gas for the first week and now has more energy then ever. 

There are sooo many gluten free options out there too now. We went to our favourite grocery stores to check out our options. There is pasta, breads, cupcakes, (not that we eat much of any of that... but just in case... and sauce mixes all GF!

Ok here are my 2 FAVOURITE Gluten Free recipes that no one would ever know are missing gluten!

Banana Bread from Nature Moms Blog
I use my Vitamix to blend almonds into almond flour. Its our cookies favourite type of banana bread now! Yay!

The second delectable food is Quinoa Brownies! I promise no one would know it has quinoa in it. I made it with our little one and didn't tell my sister, her hubby and my man until after they ate it. None of them believed us until we showed them the mess in the kitchen :) Whoops...

I didn't realize how many meals we make at home already that are gluten free. We have never ate much pasta or bread so that isn't missed much. Our grocery shopping has changed completely from going down every isle to walking around the veggie and fruit section for the longest part of our grocery time then to meats (which we are even eating less of these days).

This has made us eat at home more often and try different foods. It has also lead us to eating more sushi (which I will never complain about!)

We have been doing this for a whole month now and it is a welcomed change as it has decreased our food budget and making both of us feel healthier and not bogged down.

Happy thrifty healthy and as always crunchy living!

Wednesday, February 6, 2013

How to make Leggings

This is one of the simplest projects I have done yet :) Yet they look great! Thanx to the amazing selection of very affordable fabric at Fabricland!


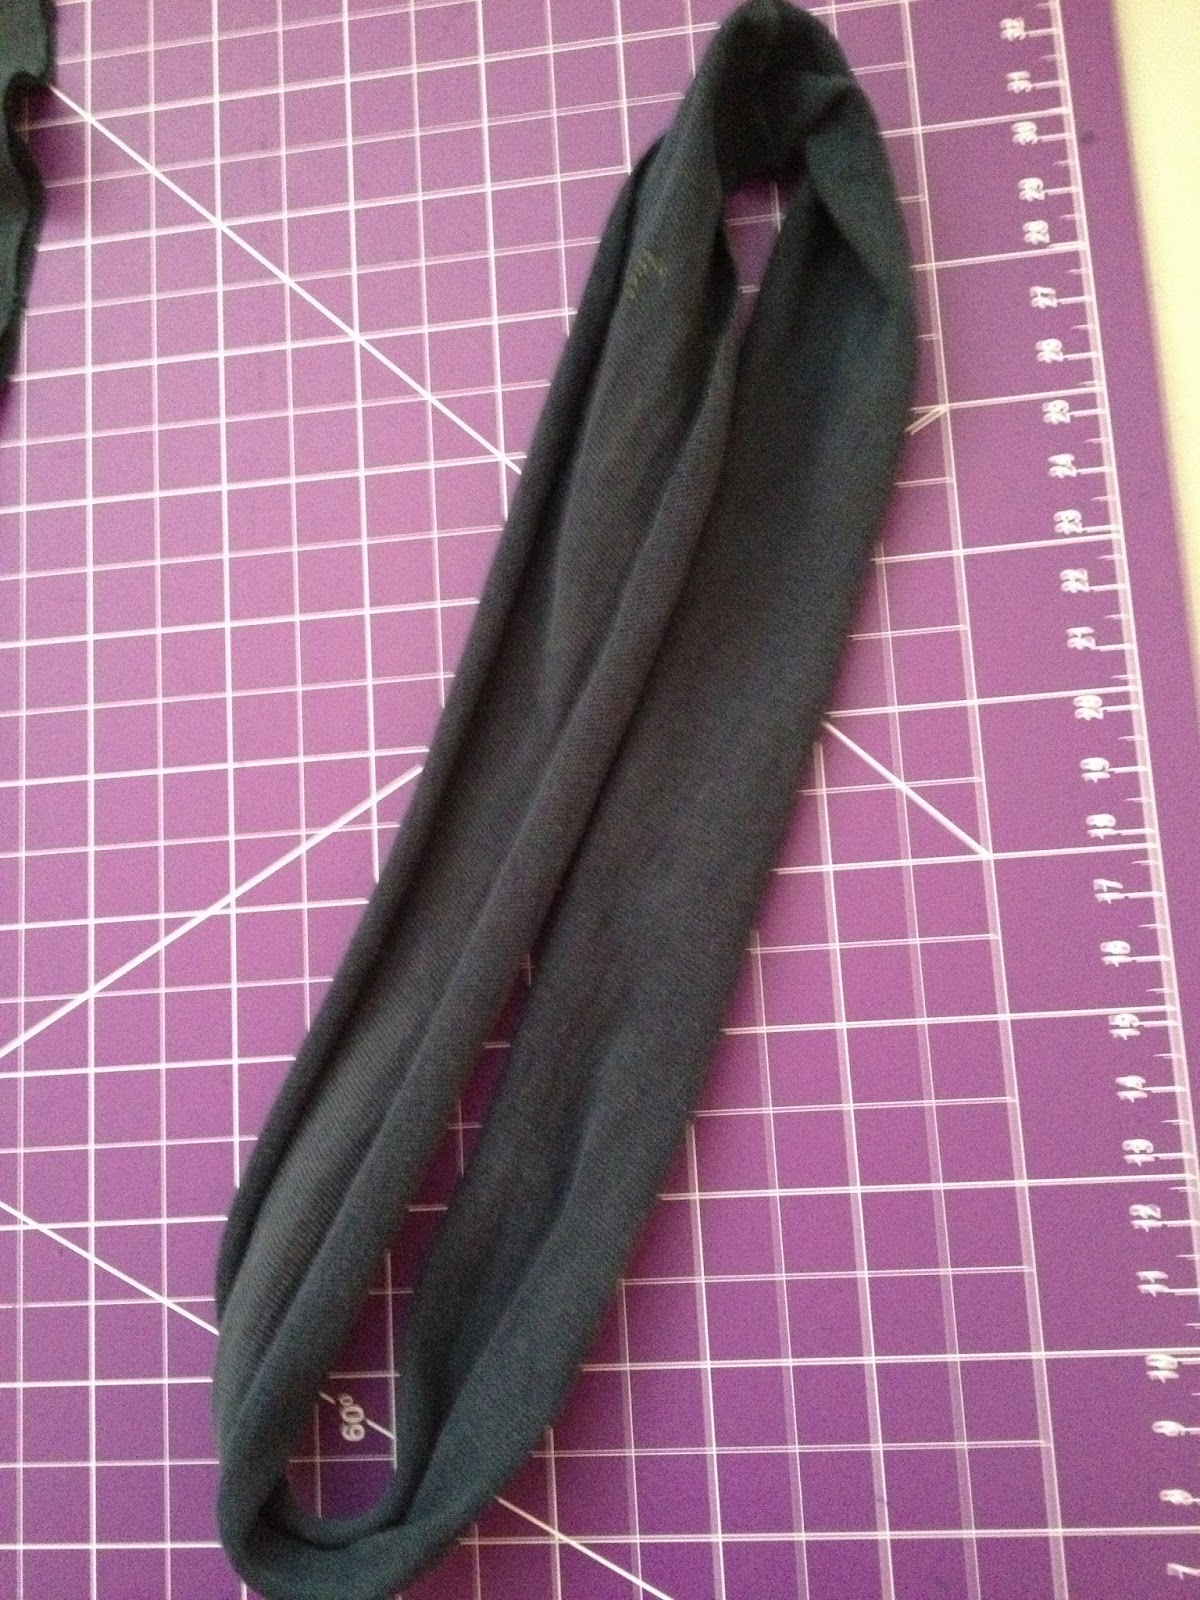
Step 1: I wrapped the fabric around my leg deciding how high I wanted them to be with seam allowance on either side.

Step 2: Sew the long edges together. I recommend surging or zigzag stitch.

Step 3: Sew the top. Fold the top over an inch or an inch and a half depending on your preference. Sew.

Step 4: Sew the bottom. Fold the top over 1/2inch and sew.

Step 5: Hand sew buttons where you like them. I put the long seam to the back so its not noticeable, put it on my leg and decided where I wanted the buttons to go. I think the double buttons look a little better :)

Happy Sewing!

Sunday, October 28, 2012

Little Girls First Book Bag

Thats right, our 7 year old asked for a book bag! Not a backpack because aren't cool anymore?
Yikes.
So I asked what she was going to use her book bag for. She has a journal she writes in every day. She writes about her day, her favourite things that happened during the day, what she is thankful for from that day and what she wants to do for tomorrow.

Anyways... this bag needed to be cute, have pink (of course) and have a shoulder strap that can be adjustable.

My solution? My giant pyjama pants that were not being used! This is a great beginners project! Upycling AND FREE!

Whoops, took a picture after it was cut... I used the leg of the jammers with the hem being the top of the bag. I sewed the bottom of the bag together creating a rectangle with one open edge.
 I then matched up the seams on each bottom corner of the bag and sewed right across giving the bag a little more base.
 Finally I sewed 2 rings to either side of the bag and attached a strap like with an adjuster so she can either put it over one shoulder or over her head.
Her journal fits perfectly! She loves her new heart book bag :) I might make a bag for myself.

Happy sewing!

Friday, October 19, 2012

Upcycle? T-shirt to Workout top!

Yeah upcycling!!!!

This is a new term I have only learned a month ago. I know, shocking! I have been upcycling everything in our home thanks to Pinterest! I mean I upcycle things like containers for other packaging leftovers for family members to take home and stuff, but there is a whole world of upcycling out there that I didn't know evern existed! 

Upcycling is defined as the process of converting waste materials or useless products into new materials or products of better quality or for better environmental value. 

I upcycled a workout top from my mans t-shirt. I am just soo proud right now.


You can get the tutorial here. The only thing I didn't do was cut the bottom. I think it looks weird... Otherwise best clothing upcycle I have done yet. Its fitted, but still loose and just awesome!

 First, you cut following the seams of the sleeves and neckline. 

 Then cut 3 strips about this width (2inches) from the leftover sleeve to tie the back piece together

 Stretch it out by just pulling on it!


You wrap the fabric around the back to bring it together which creates the workout top look!

And Ta-da you have your very own workout top from a unused t-shirt!

Happy upcycling!

Wednesday, October 17, 2012

How to cover up holes in leggings

Have a hole in an adorable piece of clothing? Patch it!

Children get holes in their pants. They play on the playground, kneel in dirt, drag their legs on the floor and soooo much more!

I have a very thrifty idea to cover up the holes in leggings that is such a cute idea, plus your little girl will love the new design!

She only had one hole in one of the legs, but it looked funny just adding a patch of fabric to one leg... Can you guess which one? Haha the knee of course!
I cut out her favourite shape (heart) out of plain fabric I had just lying around.  I pulled out the ol' hand needle and thread (doubled the thread to add thickness). I started from inside the pant leg and just went around the heart. Piece of cake? Piece of pie!


Yay for simple fixes and DIY for newbies!

Saturday, October 13, 2012

How to make a maxi skirt in 2 hours

Lately I have been going through this sewing frenzy... I want to sew everything, until I remember I am a beginner and should take things slowly... Slowly Jessica, Common!

I saw soo many women in these maxi skirts that I think look good on some people and not so good on others. I thought I would be in the 'other' group. So I never even tried one on at the stores as they were much to long and I did not own a sewing machine and didn't want to take it to get hemmed. Sooo that is my excuse and I'm sticking to it!

Anyways, I decided to make one using this and this tutorial.

(In the corner is my little pups ears.)

I found a pretty stretchy fabric at Fabricland for a whopping $2 for 2 meters! that I was a little worried about but couldn't help but buy it as it was sooo soft and silky! It isn't as hard as I thought it was going to be working with such a stretchy fabric. If I don't have to worry neither do you! This is a perfect beginners project!

I loved it so much and the little cookie loved it so much I decided to make 2! One for her one for me :) I bought too much fabric (you only need 1 meter if your about a size 5 women's) She is 7 and I still had sooooo much left over fabric! I wonder what else I can use this silky soft fabric for? Any ideas?

You can see I used the yoga band style for my little cookies dress and the 3 inch elastic waistband for me. For my future maxi skirts I will be making the yoga band waistband its sooooo comfy!!!

Happy sewing friends!

Wednesday, October 3, 2012

A Little Skirt for a Little Girl

I LOVE sewing! I feel like I can finally create something that is actually useful. This project is perfect for beginners! I brought my little cookie to the fabric store and showed her the giant wall of on sale fabrics. I told her she could pick any 2 fabrics on this giant wall at Fabricland. She thought this was the coolest thing. Her little eyes spotted a great deal!

She chose these 2 fabrics


We purchased 1 yard of each fabric to make a total cost of $3.45 (this is WAY MORE fabric then what you need). I also needed some elastic for the waist which cost $3.00 and was WAY more then what I needed so I am estimating a cost of $.25. I used less then 1/4 of both fabrics so how much would that be? Math isn't my strongest... so $1.00 for this skirt? Is that right?

I wanted to make something pretty easy for my first clothing project so I chose a rectangle ruffled skirt. with a separate gather on the bottom. I found the pattern from here. I didn't add the extra layer on the bottom though.

Here is my interpretation. Next time I will add a little more fabric around her waist to gather :)
She is now one very happy little girl!


Have you made a skirt for any age? Send me your pictures or comment on how it went!


Happy Sewing

Sunday, September 30, 2012

Want to make a dress for $1.15? I do!

Now that I have re-learned a couple things about sewing I am back into the groove... Hopefully...
What did I make and succeed at? A tank dress! Yes indeedy!

Its kinda like the T-shirt Dress but with a ribbed tank top. Anyways, this is a PERFECT project for new beginners and summer/spring wear. It is INCREDIBLY comfortable and just sooo cute! Dress it up with a cute necklace or belt!

I have a bunch of tank tops that are too short... I am not sure if they were short when I bought them or if that shrinking machine I have that cleans my clothing made them just that much shorter. One thing I will never know I guess...

Anyways back to my little project. I have 4 of these ribbed tanks that I do not wear anymore but didn't have the heart to throw out or donate so I kept them. They count as free! Next is the fabric. I spent a whopping $2.30 on the fabric. I only used half the fabric! So really this dress cost me $1.15 to make!

You can find a great tutorial here. The only recommendation I would make is to not double the fabric and just hem the seam. I found it was too bulky when I doubled it.

And here is my final product :) It looks good without the bow belt but I put a thick brown belt around it too which looked a little better.

 Happy Sewing Friends!

Saturday, September 29, 2012

First Sewing Project

This one beautiful morning I woke up and decided I wanted a sewing machine. So what did I do? Researched like I have never researched before! I compared prices to what I thought I could/would use my sewing machine for and hoped I made the right decision. I walked into Walmart where they had an incredible deal on Singer Fashion Mate sewing machine and starter kit. (I need thread, pins, measuring tape and seam ripper after all don't I?)

I walked out of the store pondering all the amazing items I would create thanks to online tutorials, Pinterest and a little girl that needs some hemming done.

I got home so excited to create my first project... Until I realized I didn't buy any fabric... So off to the fabric store I went. Do you people know how giant Fabricland is??? It looks tiny from the outside!!! There are giant piles and sections of fabric that have signs sticking out of them with words like Polyester, Nylon, Silk and Acrylic. I started turning around in circles... What the heck do these mean? What is the difference in the fabrics? What kind do I need to make a bag that holds fabric? Hmmm... It was completly overwhelming until.... I asked someone.

First step in buying fabric? ASK SOMEONE, apparently they know all!
Did you know that there is a little section at the back of most fabric stores that have hundreds of colors and types of fabrics that are on a HUGE SALE?!

I bought 4 different types of fabric. One was 2 meters, the other 3 were a meter each. I paid a whopping  $14 for all the fabric! What a steal!

 So home again I went. I felt unstoppable! Until I started sewing my first project....

It was a bag. I wanted a really big beach bag to hold all my fabric! I sewed it inside out, made the bag outrageously GIANT and the handles much too long. This was the BEST mistake I could have made! What? Best mistake? Ruining a bag? I remembered techniques back from high school. So here are some tips for beginners without a pattern and a great idea in your head.

1. Right sides together
2. Fold the outside seam under twice before sewing or else the fabric might fray
3. Measure both sides if your folding so the bag isn't lopsided... ex. if your measuring a square the fabric might not have been cut exactly straight...
4. Hold the bag up to you to imagine where the handles go. I put mine on sideways...

 Want to see my first Project? I ended up ripping out many seams and re sewing the handles on.

Happy Sewing Friends!