Showing posts with label DIY. Show all posts

Saturday, April 13, 2013

How to make a summer beach dress in 10 min


Have you been to the mall lately? Summer clothing is coming out and it seems dresses and skirts are big for women this year. The light dresses with fun colours that I have noticed.

Now, I have to start off with I am cheap when it comes to clothing... But I also don't want to work too hard to make clothing (sometimes). So here's my summer dress that cost me $2 and 10 min to make!


Let me show you how it's done.

First grab a top that fits snug/comfortable on you.

Then lay it on the fabric double sided with right sides together.


Cut along the top while gradually going outwards down to how ever long your toes goes until. You can draw lines too... if your too scared to cut. (I sure was)

Next sew the top of the shoulders together right sides together. (When sewing a stretchy fabric remember to slightly stretch the fabric so it doesn't wave. (I only took this photo after being finished the dress... So your looking at the centre seam is what connects the shoulder together)


Next sew along the edge of the dress. (I have a surger, but it would work just fine if you zigzaged the edge)


Finally double fold the arm holes and sew along the edge.


I like leaving the bottom unsewn as it won't fray and leaves a wispy feeling.


Sometimes I cut the bottom at an angle and sometimes I cut the front shorter then the back in a 'u-shape' Can you see the u-shape?

This was by far the most fun project I have made as it was incredibly fast, cheap and fixing a need that I had... the wanting of a light summer beach dress!

Happy sewing and thrifty living!

Saturday, March 16, 2013

How to get rid of the stickiness under stickers or labels

You know that stickiness that lays behind stickers/labels that you cannot get off without scrubbing your heart out and even then its still sticky?!?!

This is my little cookies bunk bed frame that we got for free! But it came with half ripped off boys stickers...


Of course with the rest of this blog and my life I am trying to stay away from chemicals so "goo-gone" is out of the question. Plus I can save a couple dollars by NOT buying more stuff!

Baking soda to the rescue!!! Well that and coconut oil. Or any oil for that matter...
Baking soda has natural abrasives that removes the stick so the oil can loosen everything up!


Thats it! Equal parts coconut oil and baking soda, mix together and rub on sticky area. I let it sit for about 5 min then wiped it off!

This works for all things sticky, glass jars that you want to reuse or peeling stickers on your vacuum!

Happy de-stickafying!!!

Wednesday, February 6, 2013

How to make Leggings

This is one of the simplest projects I have done yet :) Yet they look great! Thanx to the amazing selection of very affordable fabric at Fabricland!


Step 1: I wrapped the fabric around my leg deciding how high I wanted them to be with seam allowance on either side.

Step 2: Sew the long edges together. I recommend surging or zigzag stitch.

Step 3: Sew the top. Fold the top over an inch or an inch and a half depending on your preference. Sew.

Step 4: Sew the bottom. Fold the top over 1/2inch and sew.

Step 5: Hand sew buttons where you like them. I put the long seam to the back so its not noticeable, put it on my leg and decided where I wanted the buttons to go. I think the double buttons look a little better :)

Happy Sewing!

Saturday, February 2, 2013

DIY Glass Cozy

We have a family of 3 and no dishwasher (well except me). Family that lives downstairs, and friends and family that come over at least 5 times a week.

When people come over the most common request is a drink. We have water at our house which looks the same in all of our same looking cups. I was washing cups every day like it was going out of style. So I came up with an idea to decrease cup use!

Everyday one person is allowed one glass. How do we keep them straight? Glass Cozies!

I picked out different fabric colours and styles that I had at home, first for my family then for friends. It is a loop of fabric with an elastic band sewn inside the fabric. I just measured the width around our glasses and added some extra fabric to give the scrunchy look.


This has solved all my dishwashing problems! I no longer have to wash 6 glasses when there were only 3 people home.

Happy homemade living!

Friday, January 11, 2013

How to Naturally Unclog Drains

On a bottle of Draino: Only use in a well ventilated area. Meaning do not breath this stuff in as its toxic to your health. Hmm... This is not something I want to subject me or my family to. Nope, no way!

I've been growing my hair for the last 2 years and have noticed that our bathtub drains are clogging up.

It must be a mixture of shampoo, bodywash and hair. (Can't wait to start no-poo shampoo... for a later post). I used to only have to do this once a year and now its every 4 months... Two bathroom sinks and a bathtub... I used to buy Draino in the past but I couldn't bring myself to buy it until I tried a natural alternative.

And would you believe it? It's our very favourite two products in our home here! Baking soda and Vinegar! Cheap, but extremely effective, natural and non-toxic to the environment


How to Unclog Drains:

1. First grab a funnel or if you don't have one make one out of paper. Pour 1/4 cup baking soda down the drain. Make sure it is pushed down as far as it can go.
2. Pour 1/4 cup white vinegar down the drain and cover quickly with a plug. It fuzzes up pretty fast. 

I left it for an hour came back to it and all the hair was lifted up so I could easily grab it out. I repeated the steps and have a perfectly draining bathtub and sinks! You can use this for your kitchen sink too! I only had to do it once for my kitchen sink and do not do it as regularly.

Happy Natural, Thrifty, Healthy living friends!

Wednesday, January 9, 2013

Cloth Napkins vs Paper Towels

Cloth napkins vs paper towel... That is the real question.
Do you know how many paper towels are used in your house every month? Me neither... Until I counted... I buy my paper towel at Costco I think packages of 12. We used that package in 8 months... 

Whats all the hullaballoo?
Consider this, you'll probably use thousands and thousands of rolls, which is equivalent to an entire forest. Imagine a local forest that you've walked through being completely cut down just for paper towels! It isn't just trees that are being consumed, its the entire process of making them including chemicals that go into it. To increase absorbency, they've been subjected to dioxins and other ingredients (the process isn't disclosed on the roll of paper towels). They are also bleached to give them their white colour. The dangers of chlorine bleach have been well documented. Infants and toddlers are especially vulnerable to the effects of chlorine bleach. Finally, they can take up to a year to decompose but then again remember the chemicals that go into the process of making them? It is leaking into the water system and causing harmful effects.

For me and my family this was a no brainer and a simple fix! 

I went out and purchased some organic terry cloth and flannel for reusable cloth napkins. I purchased it with my Fabricland membership on the back isle that only cost $3 per meter and matching thread of course! 

I cut out 10" x 12" rectangles. I probably cut 30 of each. Then sewed right sides together close to the edges.
Make sure you leave a 2 inch opening to flip the fabric. 

 After flipping the fabric, tuck the opening in and iron flat.

Then top stitch along the edge. This makes a BIG difference! (I made 2 different colours so don't be confused...)


I wrapped them around a paper towel holder for the meantime but I think I would like to add snaps so they can be laid more evenly.


The man only started using them once I tucked the paper towel away. We have had them for 2 months now and we all love them! They feel so soft on our faces and are very durable. We use them for simple kitchen wipe ups and meal times. We have a whole other section of rags for cleaning the home instead of using paper towels. Our waste has gone down substantially just from not using paper towels and I must say I haven't noticed an increase in the laundry as they are quite thin.

Overall a great investment! Its Thrifty, natural, homemade, and a great present wrapped in a cloth bow!

Happy sewing and living a more environmentally conscious life!

Tuesday, January 8, 2013

DIY Natural Pet Stain Remover

We have a little pup. When we leave him for too long at home or if he is just extra anxious he goes to the bathroom on our carpet. First of all I cannot wait to have hardwood instead of carpet. This will solve most of our home pet problems when this gets changed over... Until then, we have carpet and a pet to clean up after!

This last one was a poop. It wasn't hard either. TMI? Sorry...

I got most of it off with a cloth... but the brown smelly colour was still there.

I know baking soda rids pups smells. I use it weekly before I vacuum the carpet. So I figured I would sprinkle some of that on. Then I remembered a grass stain that our little cookie had on her shirt. I took it off with baking soda and vinegar... just let it sit there for an hour.

I tried this on the carpet. Let it sit for 2 hours (for extra mess removal hoping with my fingers crossed) and wiped the area up. Don't let the mixture sit for longer then that as it will bleach the carpet. The smell and brown stain was gone! Phew! I can officially stop buying pet stain removers that are so costly and cannot be good to breath in due to the extra smells they add.

Pet Stain and Smell Remover:
Baking soda
Vinegar

Happy natural thrifty living!

Saturday, December 22, 2012

How to make a fabric advent calendar!

I know its kinda late to post this but maybe a Christmas idea for next year?

Every year as a child my momma surprised us with chocolate advent calendars. You know the ones with waxy chocolate, but as a child you think it is just the best thing ever!? Thanx to my momma we have another new tradition to use every year :)

No, it isn't the chocolate advent calendars. I made my own that suited our family!

A Christmas Felt Advent Calendar


During Christmas we get more then enough cookies and treats from friends and family (and our bakings in the home) so I wanted to come up with something that excludes daily treats. We have troubles some days thinking of things to do as a family or those lazy days, and this year we found it energized us to do what was on the tab for the day.

I started with a felt tree, then felt ornaments and christmasy things to go on or around the tree, our little family and presents (the extra present is for our pup). The ornaments are movable via velcro on the back of each one.


Next came the background. I measured how big I wanted it to be free cut out the numbers. Then came the boxes.

At the top and bottom are bamboo sticks holding it straight.


Here comes the coolest part. Each of the pockets have a felt christmas ornament to put on the tree every day as well as an activity for our little family to do together. The 24th day has the Christmas Star. Our little cookie cannot wait to put the star on her calendar tree!


This 'I love Santa' has velcro too! It goes on the pocket of the day and moves as days go on. I purchased this from the dollar store, it came in a pack of 6.


Some examples are: skating, board games, build a fort and sleep in it, watch christmas movies, bake and ice christmas cookies for friends, build a fort and read stories in it, get in pj's make hot chocolate and drive around to see christmas lights, collect toys that we don't play with and put them in a shoe box for other children.

You can add other things like traditions your family has (ie going to cut down a christmas tree). Our little girl LOVES it! The first thing she says in the morning is "I have to go see the Christmas calendar! I wonder what fun things we get to do today!" She runs back to our bed with the note of our family activity of the day and tells us what else was in the pocket.

The chocolates are gone. This is definitely coming out again next year!

This was very inexpensive to make. I used leftover felt from various other projects for the decorations, other felt was bought at the dollar store and finally at Fabricland they had the red background fleece on sale for $5!!

Merry Christmas Friends!

Thursday, December 6, 2012

Homemade Laundry Detergent

We go through laundry detergent like its going out of style.
We are out again, today, and I couldn't bring myself to buy a bottle of overly smelly detergent that costs $12 every time...
We have tried quite a few different types. At first it was the ones on sale. Then I learnt about all the toxic crap that is in the regular brands. So we tried a couple more natural ones. But they are even more expensive and some are not telling the complete truth about the bad chemicals. Just because it says natural does not mean it is!

Sooo off to Google I searched and searched. I remember bookmarking natural DIY laundry detergents a couple months ago waiting for the day that ours ran out. Hmm... Most of the detergents have Borax in them... That doesn't sound very healthy does it?? Natural of less evils? Maybe...

Grist Explains it here.

Anywhoooo I decided to go Borax free! Here is the recipe.

DIY HOMEMADE LAUNDRY DETERGENT
3 cups Baking Soda        $3.25 (for a GIANT container!)
3 cups Washing Soda     $6.59 (I used 1/8 of it)
1.5 bars Dr. Bonner's Castile Soap (peppermint scent) $2.67 each


Off to the store I went for my real natural products.

I walked down the laundry detergent isle today looking for washing soda and Castile soap and had to breath shallowly... There are sooo many smells that are supposed to be "fresh" in the laundry detergent section. There are soo many harmful chemicals in the fabric softeners that get used every day not to mention its toxic to our environment. Don't use them!

I found both of them at London Drugs and always have a giant container of baking soda at home for all my cleaning and baking needs :-)

After mixing up a batch I gotta say I was dieing to try it out! Its in a sealable container that has a 1/8 cup scoop sitting in it just waiting to be used. I put smelly cloths that I cleaned up my pups pee with... I know... Gross! Grass stained and mudded up jeans and some other randoms. I washed on cold as normal (energy saving of course), put in 1/8 cup vinegar into the fabric softener section (as normal) and let my HE machine do its thing! I opened the door to clean smelling clothes. No abnormal smell of perfume, just clean smelling clothing! Oooohhhhh Happy Days!

Plus with this amount of detergent it should last our family of three 10 months!

Did you read these things?!?!
Its Cheap!
Its Healthy!
Its Natural!
Its Environmentally friendly!
It's MUCH Easier then you think to make!


Happy Natural DIY Living!

Monday, November 12, 2012

Monster Bookmark Tutorial

I LOVE BOOKMARKS! Especially fun ones!

Nice bookmarks are kinda expensive... well for a thirfty woman they are. I guess I could just tear a piece of paper and use that... Or paperclip... But I find they either fall off or fall through the book and I loose my spot! Hate that! My little cookie is reading books that have chapters! How did this happen?? I remember reading to her before bed, now she is reading to me :)

Anyways, she is now finding that her paper bookmarks are falling out the bottom of the books as well... Blast.

I found a picture with no link on Pinterest on how to make monster bookmarks. These are only genius because they hug the corner of the page/pages! No more bookmarks falling out the bottom! I'll show you how to make it. Piece of cake! I used scrapbooking paper but you can use any old paper that you can cut and fold. No pattern required!

First take a regular piece of paper (or as decorative paper as you want)
Measure out 3 squares beside each other in the shape below (I first made mine measure 4inches x 4inches for the bigger children books then smaller ones 2.5inches x 2.5inches.

 Draw a diagonal line crossing out the top and bottom square. Cut off that section.

You should have a shape just like this!

I traced this shape onto other scrapbooking paper a couple times to make a few of them :)

Next you want to fold the triangles along the lines you drew so you have 2 triangles sticking up and a square on the bottom

Lay one triangle on top of the other gluing them together with your good ol' elmers glue, forming a pocket

With the larger monsters I folded the bottom part of the square into the pocket making it more stable (this was flimsy paper) and left the other ones out. You can add eyes with extra paper and teeth (just make sure you glue the teeth to the front inside... I know from experience)
And there you have it fun bookmarks for everyone! Great for stocking stuffers or crafts to do with your children on a rainy day :)

Wednesday, November 7, 2012

How to Get Rid of Pre-packaged Food

I have been working on changing my habits from buying cans and pre-ackaged foods to making homemade meals from as scratch. (as much as someone can)

This year was the first year we had a garden... unfortunately we started it too late and they died before they ripened. So next year we are starting early and going to reap all the benefits of garden life! Including canning, thrifty living and going into the backyard to pick pick pick.

First off I have to admit, I am no saint. Sometimes I still buy frozen pizza and other unmentionables...

Why not buy things in a can or jar pre-made? They are filled with preservatives and proven toxic and cancer causing chemicals and hormones that I am choosing to help myself and my family avoid. There is also unnecessary sugars, fats and salt in most pre-packaged food that I know for a fact is not healthy.

Want to know my secrets?

So far I think the first secret might be making double batches of everything and freezing the left overs!

The second secret is don't let yourself buy the pre-packaged things! I know, harder said then done... but if you stop buying the prepackaged food and are at home you either starve... or you start making things from scratch!

My final secret to getting rid of pre-packaged foods? Buy a crockpot! You don't need a brand new one. Someone gave us their old one and it works fine! Or I see them at garage sales all the time. We have made sooo many meals and snacks in our crock pot. My latest DIY homemade foodies is apple sauce! I could eat apple sauce all day straight from the jar... Gross? Maybe... I use it in almost all of my baking as well as a substitution to butter and its a great dessert! I like to leave it a little lumpy for extra texture :)


Here are some links that might help out:

26 Things to do with your crockpot
Things that can and cant be frozen
Recipes that you can freeze
Way too many crockpot recipes
Allrecipes.com (they have made this process the easiest! People rate the meals and leave VERY helpful comments

We all have a choice to make and this just so happens to be mine. I'm not saying your going to die if you eat pre-packaged food, I am just trying to make a small change in my family's life that I believe in :)

Tuesday, November 6, 2012

Homemade Natural Deodorizers

You know that spot under the sink that occasionally smells thanks to the garbage can and compost under your sink?

Sure you can go out and buy something that gets rid of the smell in strange places, but firstly, where is the fun in that, secondly, consider all the chemicals that go into those products that covers the smell and how they are affecting your body. Research perfume and secret chemicals... Sooooo gross!

I found a chemical-free, thrifty, all natural and DIY deodorizing disk that you can make with ingredients that you have at home!  Huzzah! 

Remember I was talking about the million benefits of baking soda? Well here is another one. It deodorizes the fridge, carpet and under the sink! 

This recipe makes 4 deodorizing disks.

1 1/2 cup baking soda
1/2 cup hot water (distilled or boiled for 10 min)
Oil of your choice (I chose Vanilla the first time and lavender oil my second time)

 Mix all the ingredients into a bowl ensuring a very thick consistency. Add extra baking soda if you need to! (This will help it dry out faster)

 Scoop the baking soda mixture into the cupcake lined muffin tins. Tap the whole thing on the counter to smooth out or dabble your finger gently on the surface. (both works fine)
 And there you have it!

Your very own homemade deodorizing disks! They can be used in lots of different areas! Diaper bins, mud rooms, behind the boys bathroom toilet, or in the same room the athlete in the house keeps their gear in

When they finally dried (took 4 days) I live in BC Canada and its all rain right now... I left them in the cupcake liners and placed them in boy areas around the house.

Enjoy your fresh smelling rooms!

Sunday, October 28, 2012

Little Girls First Book Bag

Thats right, our 7 year old asked for a book bag! Not a backpack because aren't cool anymore?
Yikes.
So I asked what she was going to use her book bag for. She has a journal she writes in every day. She writes about her day, her favourite things that happened during the day, what she is thankful for from that day and what she wants to do for tomorrow.

Anyways... this bag needed to be cute, have pink (of course) and have a shoulder strap that can be adjustable.

My solution? My giant pyjama pants that were not being used! This is a great beginners project! Upycling AND FREE!

Whoops, took a picture after it was cut... I used the leg of the jammers with the hem being the top of the bag. I sewed the bottom of the bag together creating a rectangle with one open edge.
 I then matched up the seams on each bottom corner of the bag and sewed right across giving the bag a little more base.
 Finally I sewed 2 rings to either side of the bag and attached a strap like with an adjuster so she can either put it over one shoulder or over her head.
Her journal fits perfectly! She loves her new heart book bag :) I might make a bag for myself.

Happy sewing!

Friday, October 26, 2012

How to get rid of Dog Smell!

Yes! I have kicked the pup smell in the butt! Its Thrifty, Natural, and DIY!

We have a fully carpeted home... (I cannot wait until its all hardwood or at least snap together laminate!) Our pup started shedding and my sister has a pup too that comes over and tends to shed too... That is a whole lot of dog hair that gets vacuumed every couple days. With dog hair comes a certain smell... I love my little pup with my everything but that blasted smell I could absolutely live without!

Money does not allow me to rip out the carpet just yet so I had to think of another alternative, a natural alternative, of course!

So I went into my cupboards and used some information that I have learned over the last couple months. Baking soda is the best invention ever! Oooo and lemon! Both great things!!!!

This is all you need! Baking Soda, Shaker container, and Lemon! (you can use any scent I just prefer real lemon)


I filled the container with baking soda squeezed about half a lemon into it. Shook the heck out of the container to ensure it was completely mixed. Sprinkle the mixture all over the carpet. Let it sit for about 15 min (don't worry your little pup can sniff and lick as much as he wants... it wont hurt him) Then vacuum it up! I do this once a week while the pups are in shedding season. Sometimes more often depending if there are little ones crawling on the carpet.

SMELL BE GONE! Huzzah!

Wednesday, October 24, 2012

Girls leggings from moms stretchy pants

Another DIY thrifty project! Sewing and most importantly Upcycling! I just saved myself $20! Which is not much... but if you keep adding that $20 over and over again it adds up... right? My little cookie is not much of a jeans wearer... When she picks out her clothing the bottom part is always leggings! Did you know even at Walmart little girl leggings are $10! Common! Its the tiniest bit of fabric... how can it be that much? I can buy a meter of fabric for $2!... Wait, thats not a bad idea...

I went to the mall and they have adult leggings in every colour you could imagine on sale! Ahem, Urban Planet, Thank you! They were $2 each! So I purchased... a few...

Not for me of course... well except the black ones... and the brown ones... and the grey ones... but the other colours were for another project...

Project leggings for our little cookie!

She is a size 6-7ish depending on the store, but 7 years old.

I found the tutorial here.

I laid down her own leggings (that fit her) folded one leg into the other onto the newly purchased leggings and cut around them leaving 1/4 inch for sewing. I made 2 sets of little girl leggings from each pair of purchased pants! That means I spent $1 on her leggings. To top it off I unpicked the waistband from the purchased leggings and sewed them right into her new ones! I have also made her leggings out of stretchy pants that don't fit me anymore. Yes, that means FREE


Now when I ask her to get dressed in the morning, the first thing she pulls out is her NEW leggings! She now coordinates her shirts to match them too! Kids love handmade things from their parents! Try it out! You can't go wrong with this project!

Happy sewing and up cycling


Friday, October 19, 2012

Upcycle? T-shirt to Workout top!

Yeah upcycling!!!!

This is a new term I have only learned a month ago. I know, shocking! I have been upcycling everything in our home thanks to Pinterest! I mean I upcycle things like containers for other packaging leftovers for family members to take home and stuff, but there is a whole world of upcycling out there that I didn't know evern existed! 

Upcycling is defined as the process of converting waste materials or useless products into new materials or products of better quality or for better environmental value. 

I upcycled a workout top from my mans t-shirt. I am just soo proud right now.


You can get the tutorial here. The only thing I didn't do was cut the bottom. I think it looks weird... Otherwise best clothing upcycle I have done yet. Its fitted, but still loose and just awesome!

 First, you cut following the seams of the sleeves and neckline. 

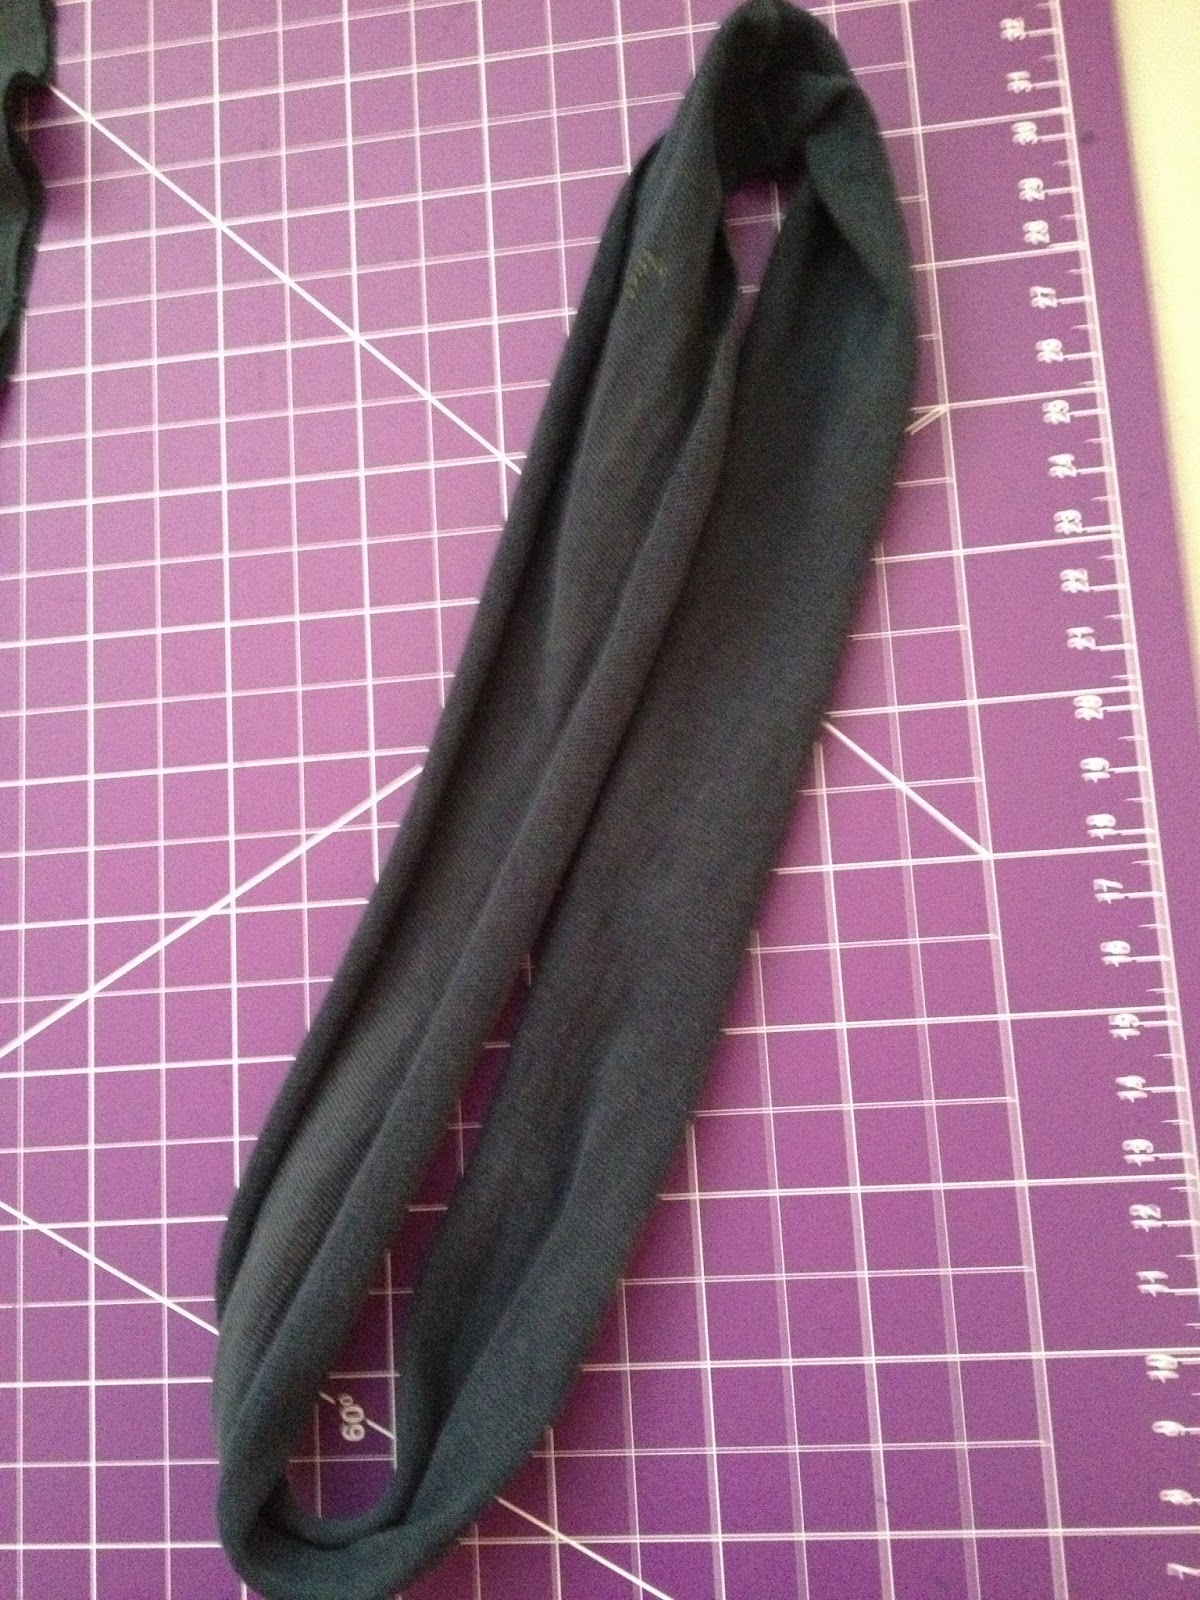
 Then cut 3 strips about this width (2inches) from the leftover sleeve to tie the back piece together

 Stretch it out by just pulling on it!


You wrap the fabric around the back to bring it together which creates the workout top look!

And Ta-da you have your very own workout top from a unused t-shirt!

Happy upcycling!